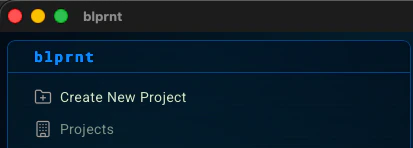
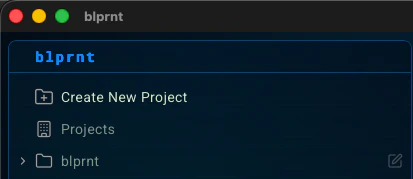
Creating a new project
Enter the project name
Give your project a name. Something meaningful and descriptive. This will only be seen by you, not the agent.
Add the project folder
If this is a new project, create a new folder for it. If you’re adding blprnt to an exisiting project, point it to the root folder for that project.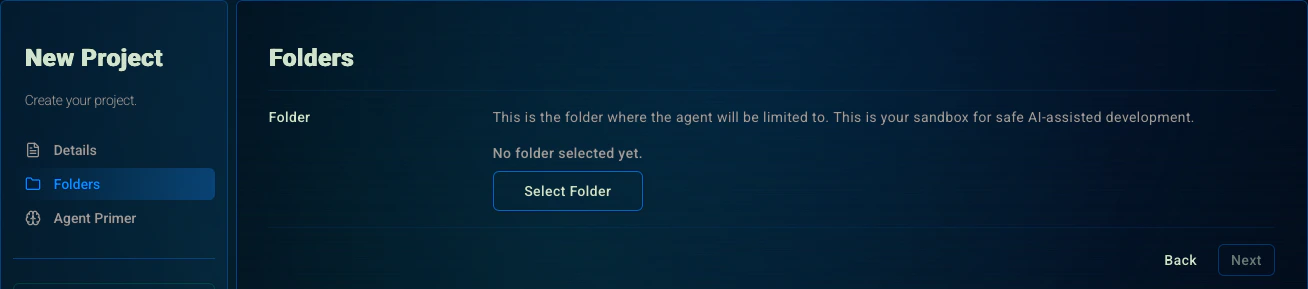
The project folder is the sandbox the agent can safely write to. It will only be able to manipulate files within this folder.Unless you enable YOLO mode for a session.
Agent Primer (Optional)
Add an Agent Primer to set default context for every new session.This is a great way to set standards, conventions, and guidelines for the agent to follow.It’s also the place where you can describe your project features, so the agent doesn’t have to guess and research every time.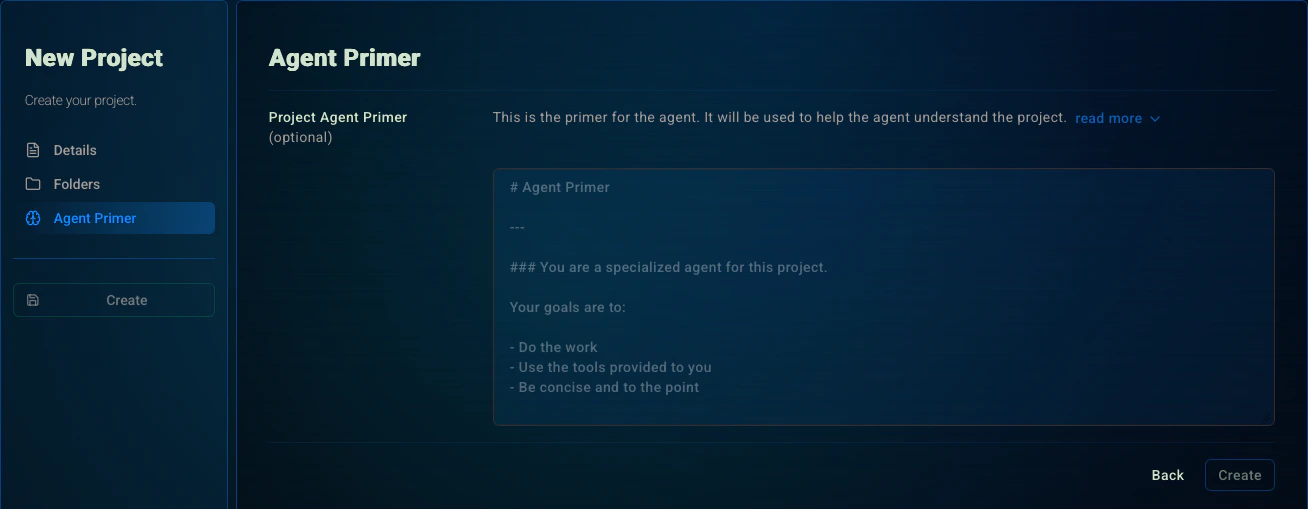
Managing projects
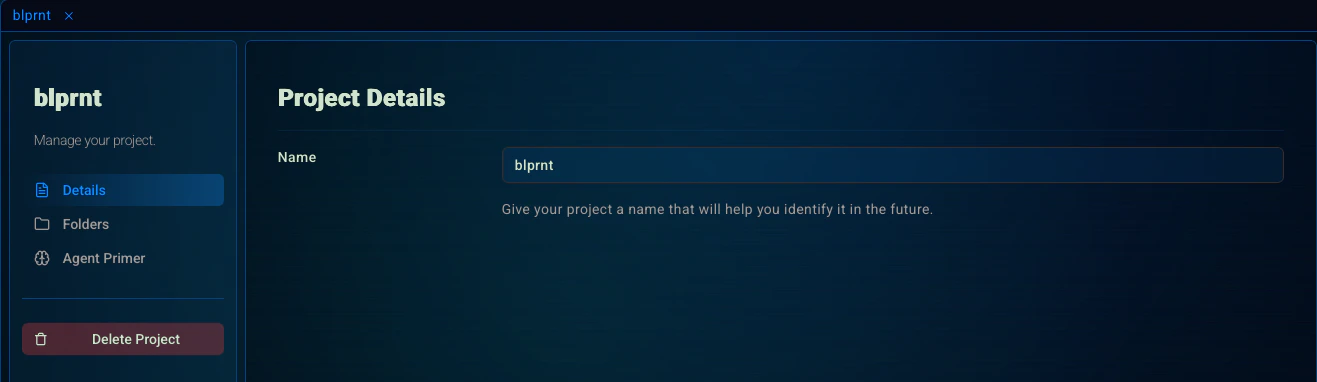
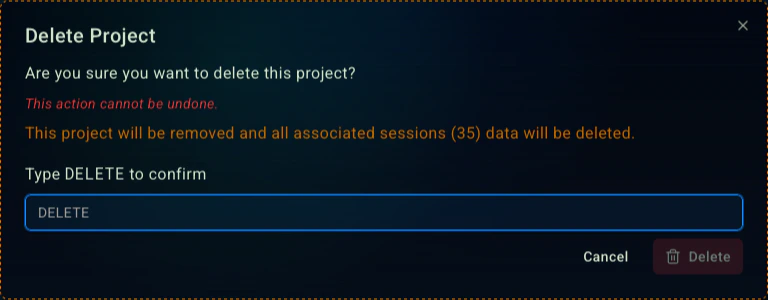
Deleting your project
You can also delete the project by clicking on the ‘Delete’ button.This will delete all the project’s sessions and memories.